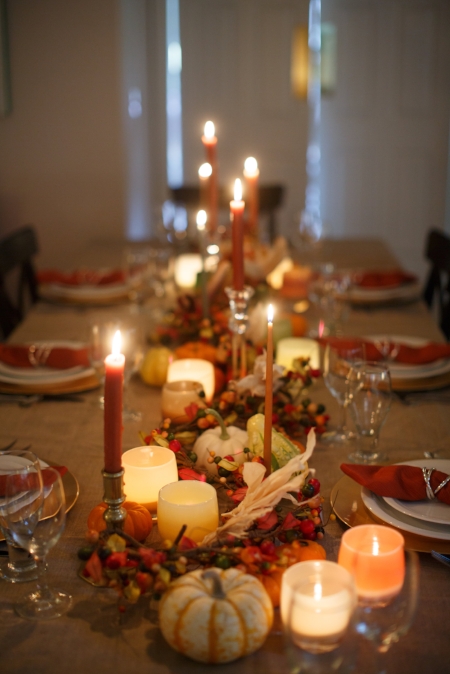
Swap a Semi-Homemade Dessert Bar for a Formal Homemade Creation | Tuesday’s Tip of the Day!

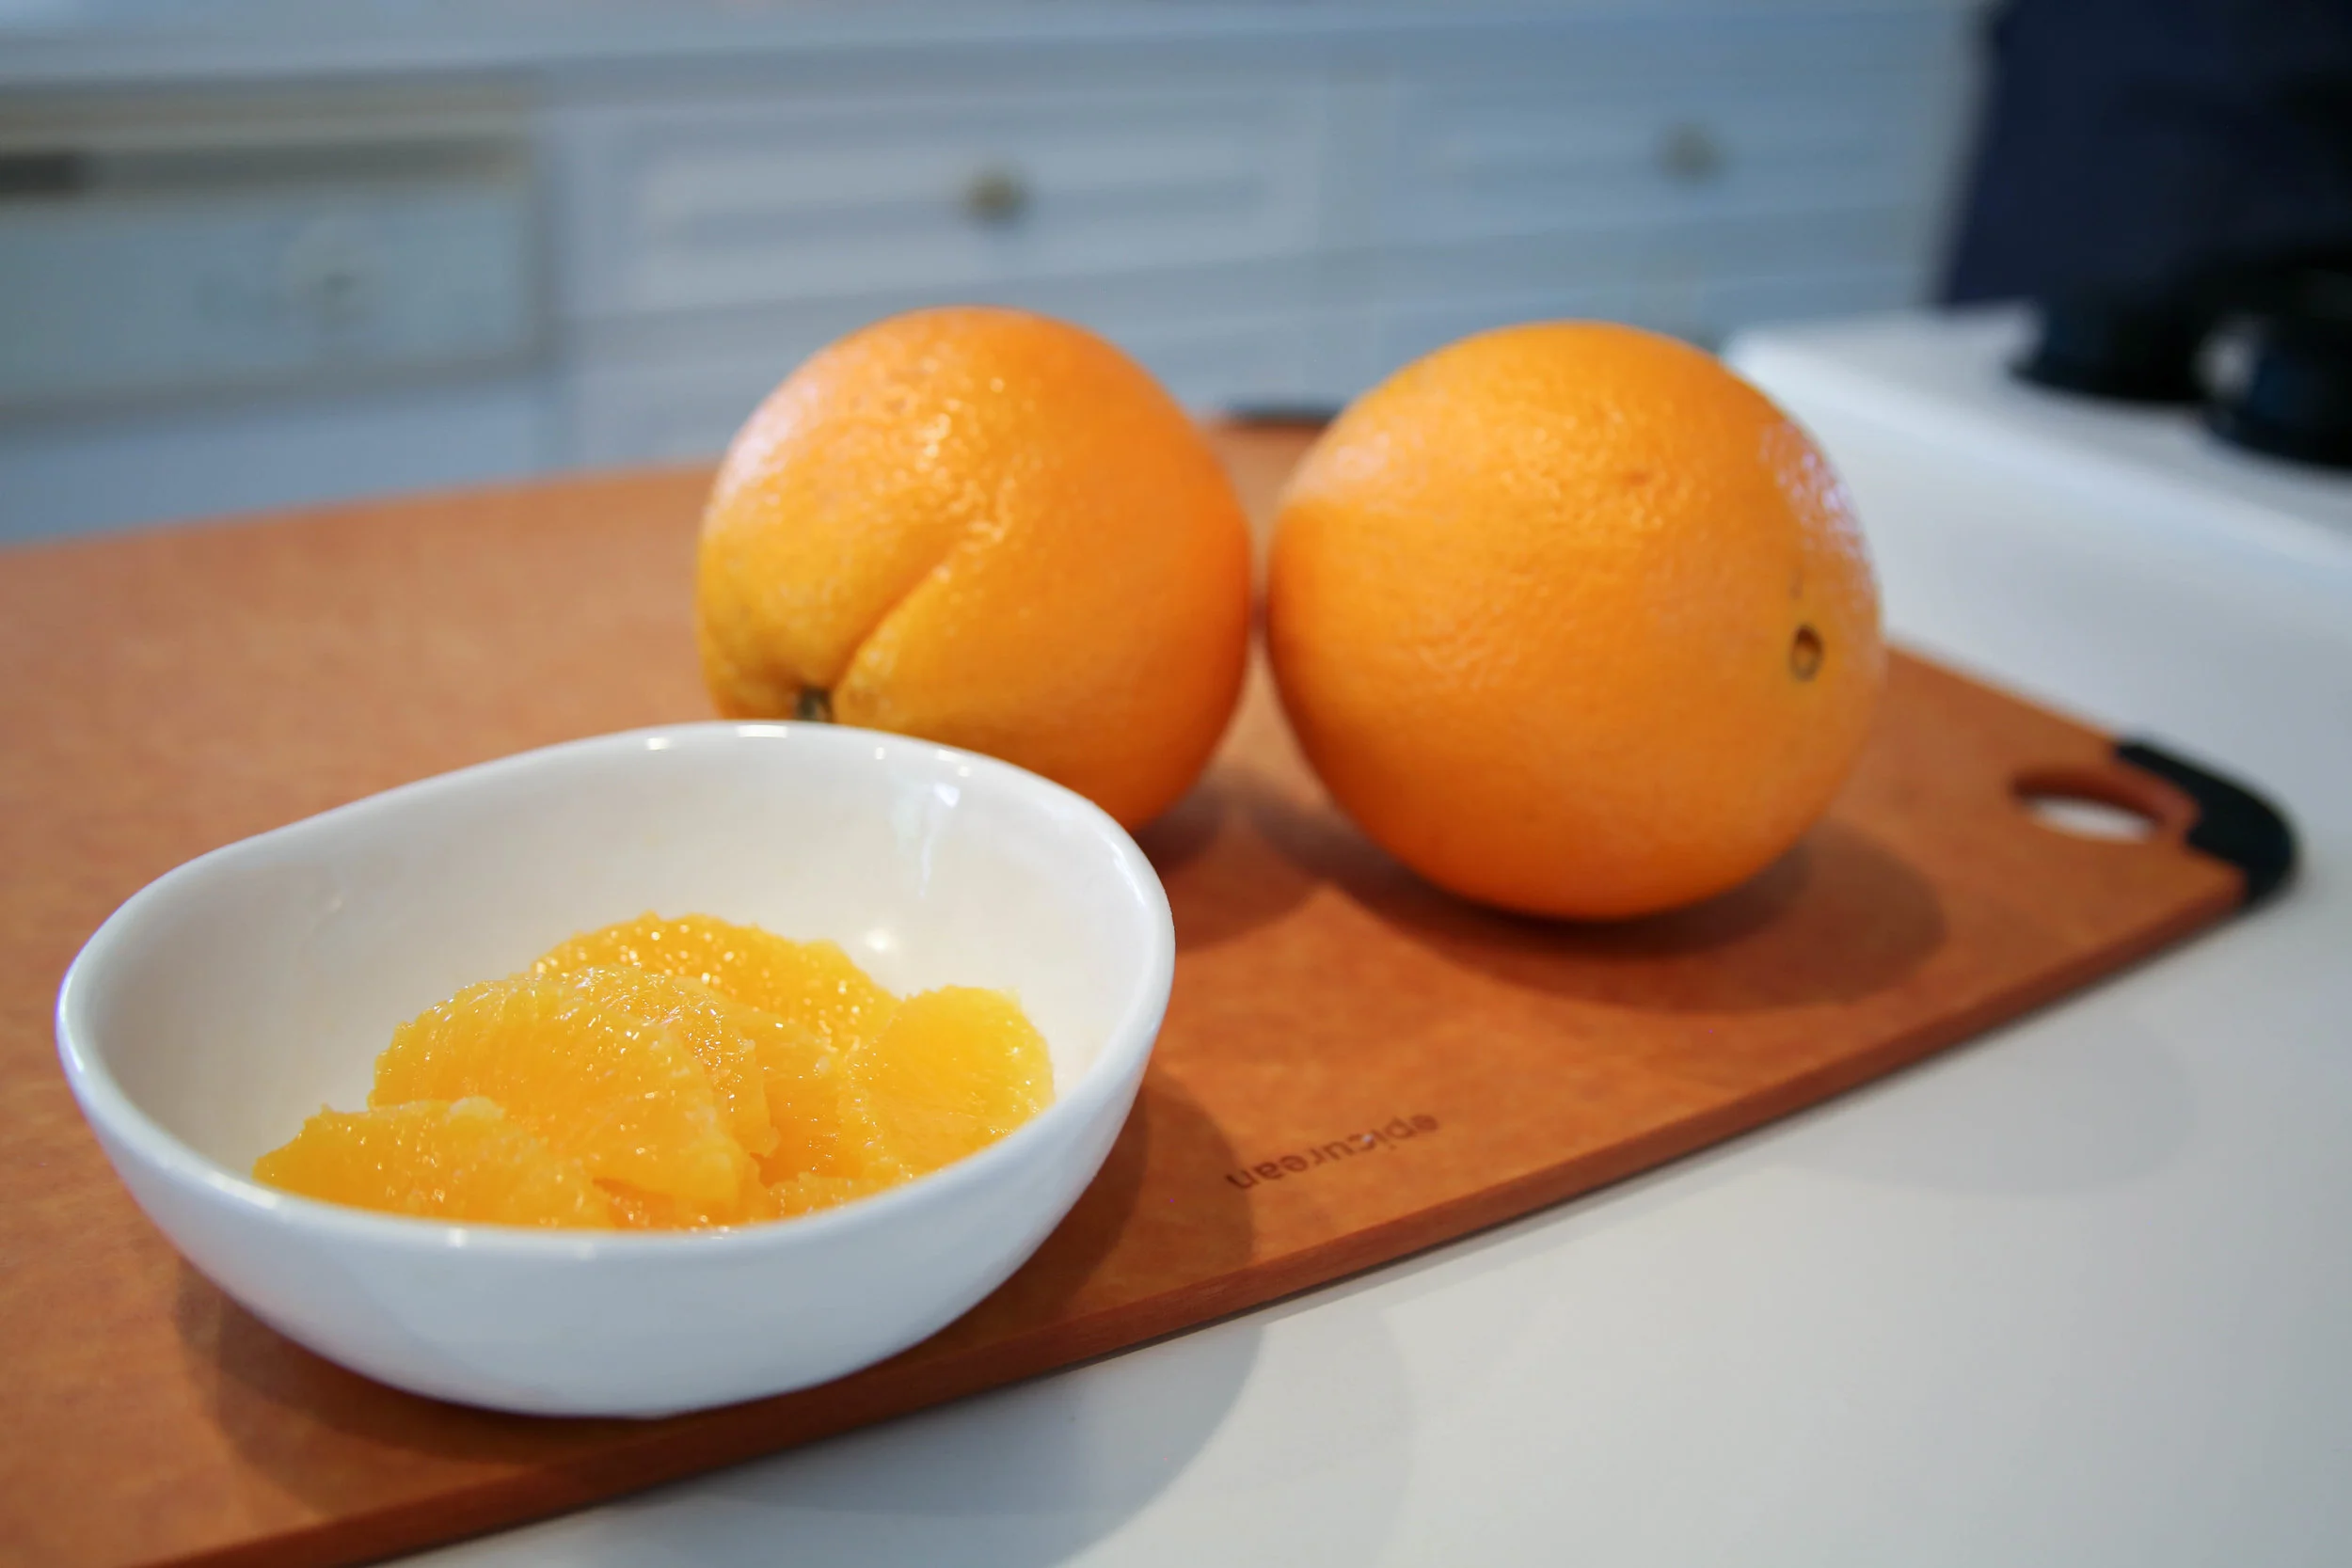
It’s ok, no one will remember 2 minutes from now that your delicious bite size brownies, peppermint bark, cookies and eclairs weren’t homemade. They won’t even remember that they were served with minimal fan-fair and rigmarole. Your party should be about great company, conversation and delectable bites (and sips!). Bite size creations are easy to serve only requiring a few cake stands or platters and can be plated earlier leaving you more time to mix and mingle. And for those guests that are nagging you to bring something, have them bring a batch of their favorite holiday treats to share with all. And yes, if you must, make a few treats beforehand like my Peppermint Bark, Peanut Butterfinger or Chocolate Pecan Fudge all that can be made a few days in advance.
For other terrific tips and hundreds of recipes, visit my website (thetabletogether.com). While there, consider “subscribing” and I will send a new tip or blog post directly to your inbox every Tuesday and Wednesday morning!
P.S. Make sure you check out my YouTube channel, The Table Together with Tiffany Lewis, for dozens of videos solely dedicated to bringing all of these fantastic tips and recipes to life!
Cheers to starting a new tradition around The Table Together!
Sincerely,
Tiffany Lewis
Founder and true believer in the power of bringing people around The Table Together!