Opening Slippery Jars | Tuesday's Tip of the Day!
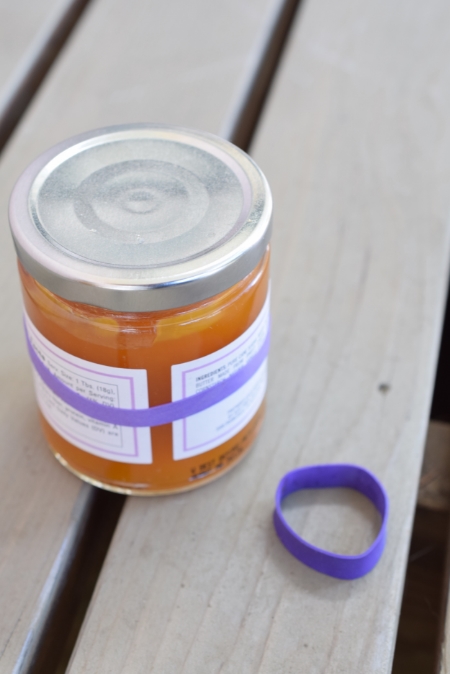
Photo by Tiffany Lewis
There is nothing worse than needing a key ingredient nestled inside a jar only to find you can’t open the jar! You gently tap on the counter which leads to less gentle taps which leads to, in some cases, a cracked jar or counter top and complete frustration! So, before you go that route, think about this fun trick!
Step 1: Get a Grip!
- It’s not you, it’s the jar! Once you overcome that concept, you are golden!
Step 2: Loosen the Seal
- Gently tap on the counter and a quick run (just the lid) under hot water should help release that stubborn seal!
Step 3: Literally Get a Grip!
- Find something that will help you get a grip of the jar! Harder to come by, are rubber circular disks that have rubber bumps on one side and flat on the other. We still have our great grandmothers; so durable! Or, better yet, head to your office and grab a rubber band! Get the thickest one you can find and place it around the jar. The rubber band will keep your grip in place as you twist the top.
And with that, you should have your key ingredient, an intact countertop, no glass to sweep and a smile!
For other terrific tips and hundreds of recipes, visit my website (thetabletogether.com). While there, consider “subscribing” and I will send a new tip or blog post directly to your inbox every Tuesday and Wednesday morning!
P.S. Make sure you check out my YouTube channel, The Table Together with Tiffany Lewis, for dozens of videos solely dedicated to bringing all of these fantastic tips and recipes to life!
Cheers to starting a new tradition around The Table Together!
Sincerely,
Tiffany Lewis
Founder and true believer in the power of bringing people around The Table Together!