When kumquats, peaches, berries and all things delectable are prime for picking, there is no better way to preserve their bounty than in a beautiful Weck or Ball jar. Today, I am going to offer some simple steps for making delicious homemade jam with the help of my favorite go-to website, TheKitchn.com.
First Things First! Before we begin, I want to note that there is a difference between canning and preserving. Today’s steps are not shelf stable, which any book on preserving can show you how to do. My version, must be kept in the fridge and is good for a few weeks, which, let’s face it, probably won’t even last that long!
Choose your Featured Ingredient! Pictured above are kumquats that I recently found at the farmer’s market, and are incredible when made into jam. Packed with a punch of twang that makes your lip pucker and neutralized with a bit of sweetness, kumquat jam is a true winner! My only ask, is that your fruit of choice should align with the season at hand. This way, you are capitalizing on the true beauty of the season’s harvest resulting in the purest, robust and sweetest flavor profile possible!
Jam at its Purest Form
Content provided by BBC Good Food
To qualify as proper jam, the finished product should contain 60% sugar, including the sugars in the fruit.
The Fruit
Content provided by TheKitchn.com
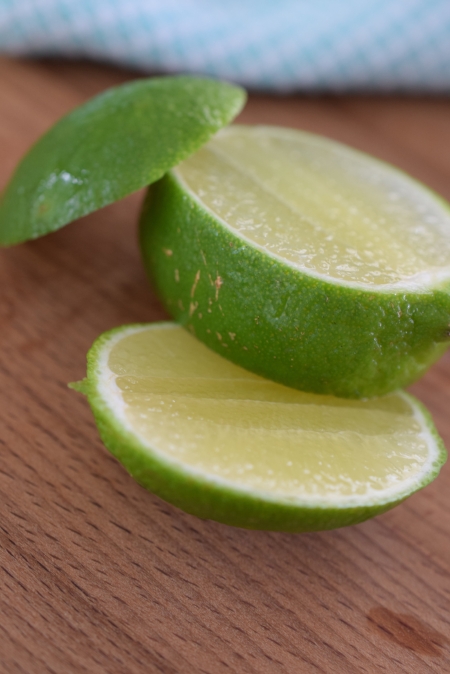
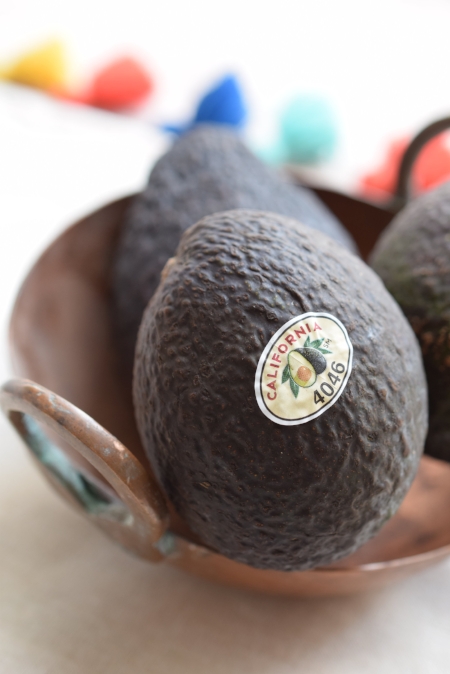
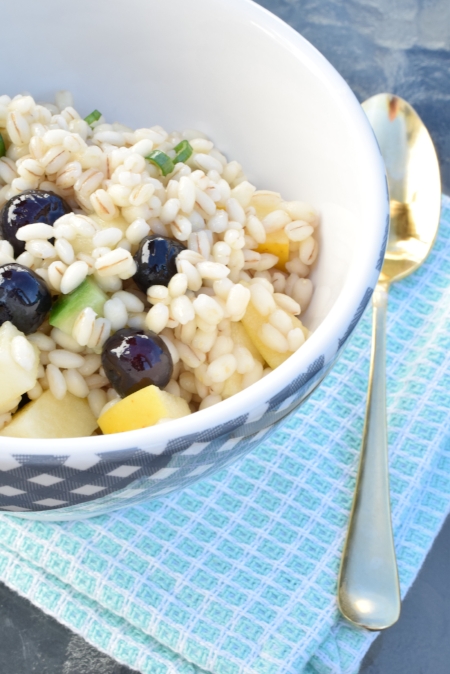
Many summer fruits make great jam. The most popular are apricots, strawberries (and all manner of other berries such as blueberry, raspberry, and blackberry, peaches, nectarines, grapes, and figs. The fruit will vary widely in sweetness, so be sure to taste your fruit before cooking. If it tastes tart, you may want to start out with more sugar than this recipe calls for, maybe closer to 1/3 cup.
Generally speaking, slightly under-ripe fruit contains more natural pectin than ripe fruit and ripe fruit is naturally higher in sugar and more developed in flavor. This means that, ideally, you want to have a mix of some under-ripe and some ripe fruit for your jam. But single-batch refrigerator jam is often about using up excess fruit that would go bad if you hung onto it for much longer or about taking advantage of a super sale at the market and coming home with more than you can eat. It's about keeping it simple and using what you have.
The Lemon
Content provided by TheKitchn.com
Lemon is used in jam to add acidic balance and pectin. I try to have a thick slice of lemon on hand when making my jam, which usually isn't much of a burden as lemon is a staple in my kitchen. After squeezing the lemon slice into the fruit and sugar, I then toss it into pot to cook alongside the jam. There's a lot of pectin in the rind, so this is a little nudge to help things along. (Hint: Using a piece cut from the tip of the lemon gives you more rind.)
Fish out the lemon when it's time to transfer the jam to a jar and discard it. As mentioned, lemon is frequently used to help balance the jam's sweet/acid ratio, so do try to use it regardless of your pectin ambitions. Also, since you are boiling lemon in your jam, try to use an un-waxed, organic lemon. Regardless of what lemon you choose, make sure you thoroughly wash the outside in cold water (no soap) before using.
If you don't have any lemon on hand, you can add a small wedge of kiwi (about 1/4 of a fruit, peeled), which you can just mash in with the fruit (it won't add much flavor). A long piece of peel from a green apple (5 inches or so) will also help, but it should be removed, like the lemon, before transferring the jam to a jar.
The Sugar
Content provided by TheKitchn.com
It's hard to give an exact quantity of sugar since fruits vary in sweetness, even from piece to piece and from day to day within the same kind of fruit. So, I start with a small amount, a ratio of 1/4 cup sugar to 2 1/2 cups of fruit, and then add the lemon. After the fruit has boiled for 5 minutes, I taste a small, cooled spoonful and add a little more sugar if needed. Often it doesn't need additional sugar, but good to test.
The Salt and the Foam
Content provided by TheKitchn.com
I always add a small pinch of salt to my jam. I find it balances the sweet and tart and seems to brings everything together, but it is optional. Also, I never skim the foam from the top of my jam. This is a habit born of laziness, but since I've never noticed a difference in the final product, it has become my method. I find that a little foam rises about midway through cooking the jam, but then it eventually cooks away. If the foam appears particularly scummy (grayish is color) I might do a quick skim, but the truth is that rarely happens.
The Frozen Spoon Test
Content provided by TheKitchn.com
1. My first step in making jam is to put two or three metal spoons in the freezer. You will need these to check the consistency of your jam.
2. After your jam has boiled for about 5 to 8 minutes, it's time to check to see how it's setting up. Simply dribble some hot jam from the pot onto the frozen spoon and wait a few seconds for it to cool.
3. Run your finger through the jam — if it makes a clear path through the jam and doesn't fill in, then you have a good set.
More About the Set…
Content provided by TheKitchn.com
· Jam made without pectin is generally a little runnier than jam made with pectin but it is still jam — that is, it gels into a sticky, cohesive mass when cool. When it's hot, it will be a lot runnier so it's sometimes hard to tell if it has set enough.
· There are a few tricks, such as the frozen spoons previously mentioned (some people freeze small saucers instead and dribble the jam on the cold saucer to see if it sets).
· I've also noticed that paying attention to the bubbles is a clue. When the jam first starts to cook, the bubbles are larger and thin. As the water starts to evaporate and the jam starts to thicken, the bubbles become smaller and tighter. Also, you can't 'stir it down.' That is, when you stir the jam, it still stays in a full boil. When this happens, it's good to bring out the frozen spoon and start checking.
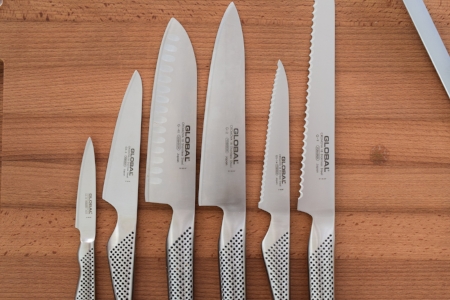
The Jar
The type of jar doesn’t matter, but I always recommend choosing one that is “pretty”, like Weck or Ball jars. Make sure you thoroughly wash and dry the jars before use, but no need to sterilize them as you are not making them shelf-stable. Another good tip here, is to label the jar with the name and today’s date. I also recommend putting a “use by” date on the jar to ensure all family members know to enjoy it by then–which shouldn’t be a problem!
Basic Canning Instructions
Content provided by TheKitchn.com
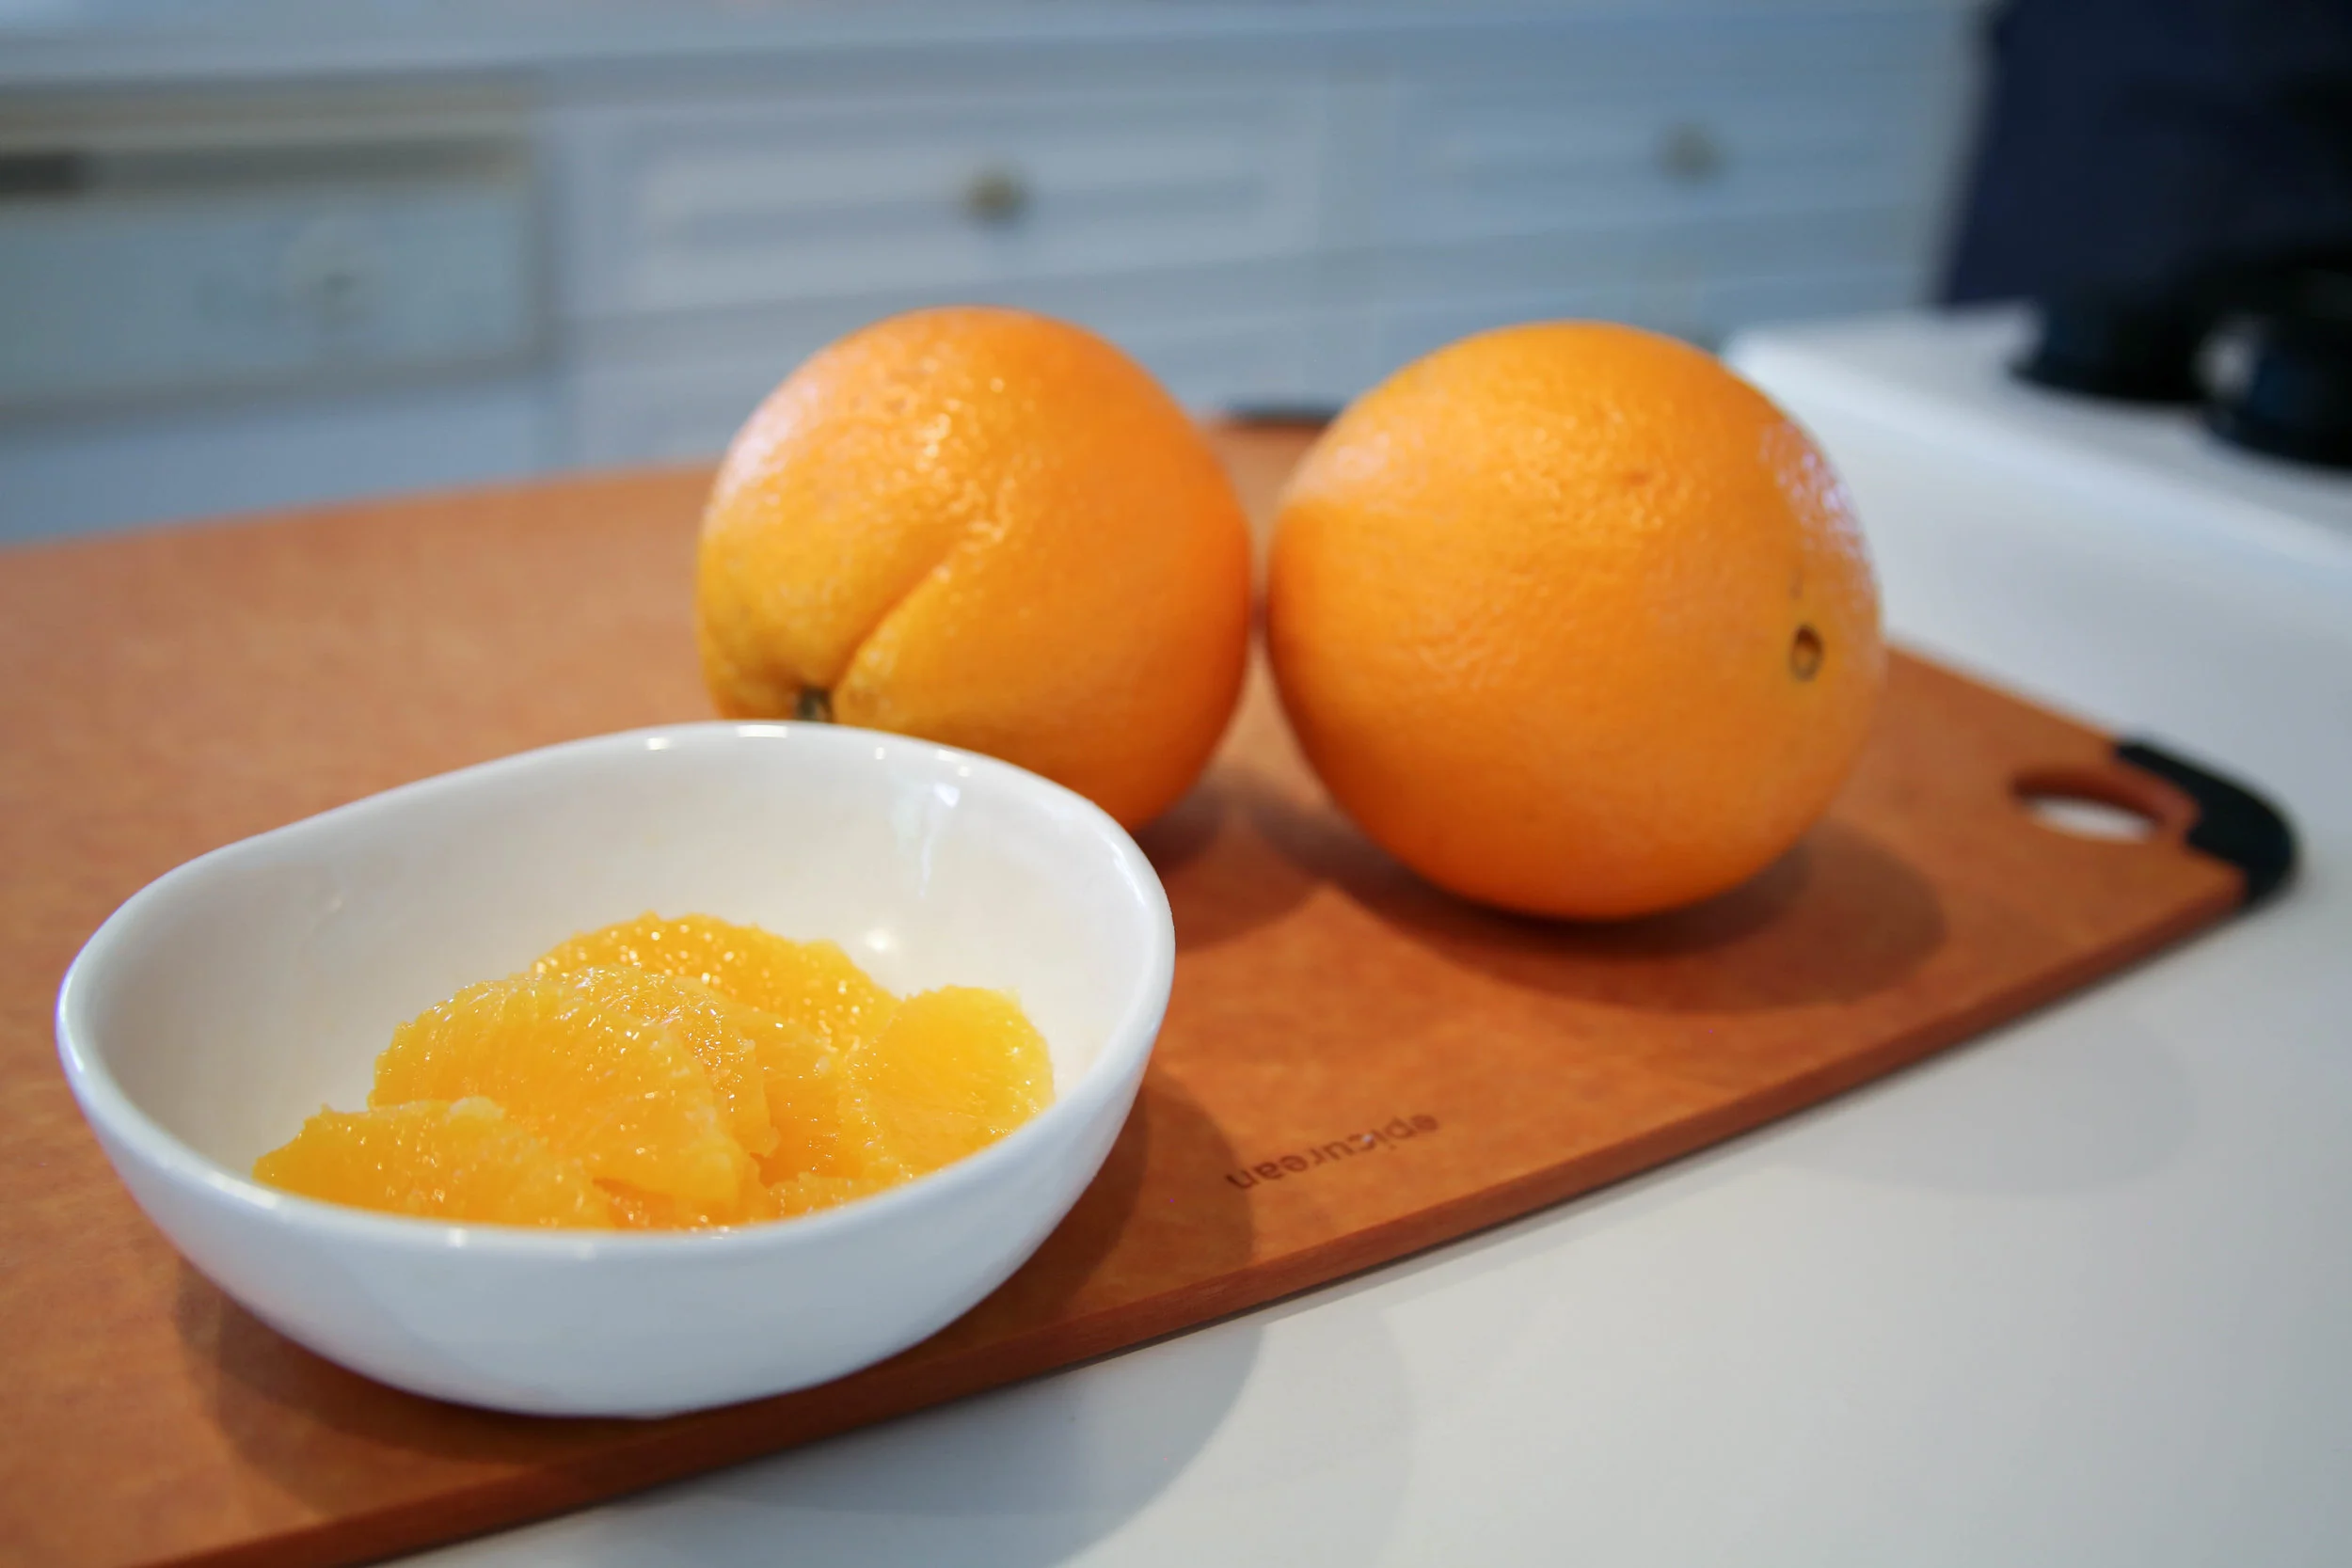
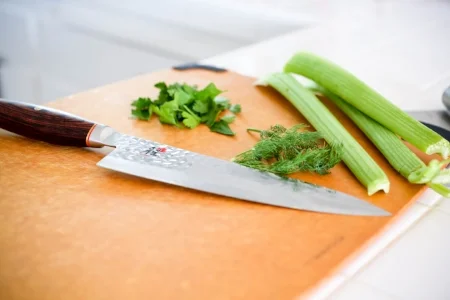
1. Freeze the spoons and prep the fruit: Put the spoons in the freezer. Cut your fruit into large chunks, discarding any pits, cores, or heavily bruised sections. Slice a 1-inch wedge from the end of the lemon.
2. Combine the fruit and the sugar in the pot along with a pinch of salt. Squeeze in the lemon and then drop the rind into the pot. Turn the heat on to medium and mash the fruit a little until a chunky texture is reached. Don't mash the lemon too much as you will want to fish it out later.
3. Cook the fruit: Bring the mixture up to a boil, stirring frequently. When a boil is reached, keep an eye on it, still stirring frequently.
4. When the bubbles become smaller and thicker, after about 5 to 8 minutes of boiling, start checking to see if the jam has set. Remove a spoon from the freezer and dribble several drops onto the spoon. Wait a few seconds, and then run your finger through the jam. If it leaves a distinct track in the jam, it is done. If not, keep cooking the jam and test again a few minutes later.
5. Check for sweetness: When you test for the set, also taste the cooled jam on the spoon. Add one or two tablespoons more sugar as needed for sweetness or a touch more lemon juice for acidity. Stir it into the jam and continue to cook until the set is reached. (If the jam is set when you tasted it but you want it a little sweeter, add the sugar and cook for a minute or two to dissolve.)
How to Make Sure you Jam Sets!
Content provided by TheKitchn.com
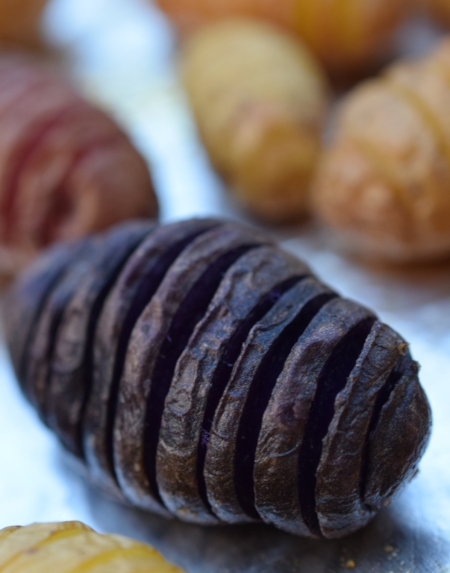
· Understand pectin: Pectin is the fiber that holds up the cell walls of fruits and vegetables. It exists in all produce, but some fruits have more of it than others. High pectin fruits like blueberries, apples, and cranberries don’t need any additional pectin and can be used in combination with other fruits to boost their pectin. If you’re working with low pectin fruit like strawberries or pears, there’s no shame in using some commercial pectin, as it will give the sugar more fiber with which to bond.
· Use a candy thermometer: When you’re making jam with traditional amounts of sugar, you’re aiming to cook it to 220°F. That’s the temperature at which sugar forms a gel and can bond with the pectin (whether it naturally occurring in the fruit or you’ve added it). Monitoring the temperature can give you confirmation that you’re on the right track.
· Watch and listen: I realize it might sound a little zen-like, but I’ve gotten to the point where I truly believe that most batches of jam will tell you when they’re done. I find that the cooking “noise” takes on a frenzied quality that sounds more like a sizzle than a gentle boil. The look of the boil also changes towards the end. Foam subsides, jam starts to gather more thickly on the sides of the pot, and it begins to splatter more violently.
· Use a low or no sugar pectin: One of the reasons that people often wind up with runny jam is that they couldn’t bear to use the amount of sugar necessary to get a conventionally sweetened batch to set. If you’re trying to lower your sugar consumption but still want jam, try Pomona’s Pectin. It allows you to make a spreadable jam that’s sweetened with a small amount of sugar, honey, Stevia or another alternative sweetener.
· Give it time: Jam can take up to a week to achieve its finished set. Patience pays!
For other terrific tips and hundreds of recipes, visit my website (thetabletogether.com). While there, consider “subscribing” and I will send a new tip or blog post directly to your inbox every Tuesday and Wednesday morning!
P.S. Make sure you check out my YouTube channel, The Table Together with Tiffany Lewis, for dozens of videos solely dedicated to bringing all of these fantastic tips and recipes to life!
Cheers to starting a new tradition around The Table Together!
Sincerely,
Tiffany Lewis
Founder and true believer in the power of bringing people around The Table Together!