Let's set the table together.

Inspiring moments and memories shared around The Table Together.

Filtering by Category: Back to Basics

Asian Pears: The Secret Life of an Asian Pear | Wednesday’s In the Know

It looks like an apple but tastes and has the consistency of a pear. Just what is this that I am enjoying?

As Melissa’s Produce states on their website, “Asian Pear is the generic name for over 25 different varieties of this "true pear." Although the outside appearance of each Asian Pear may differ, all Asian Pears are crunchy, juicy and sweet. Thought to originally come to the United States via Chinese immigrants, most Asian Pears are now grown in California, Oregon, and Washington.” – Melissa’s Produce

To demystify the sweet (pun intended) truth behind the infamous Asian Pear, I encourage you to read on…

Season:

  • Asian pears have a very short lifespan at the markets so start looking for them when the kiddos go back to school in September and straight through holiday break in December. You may find them before or after, but keep your eye on them as the quality may not be as “prime” as during their peak season.

Taste:

  • Sweet, juicy and crisp! A winning trio!

Appearance:

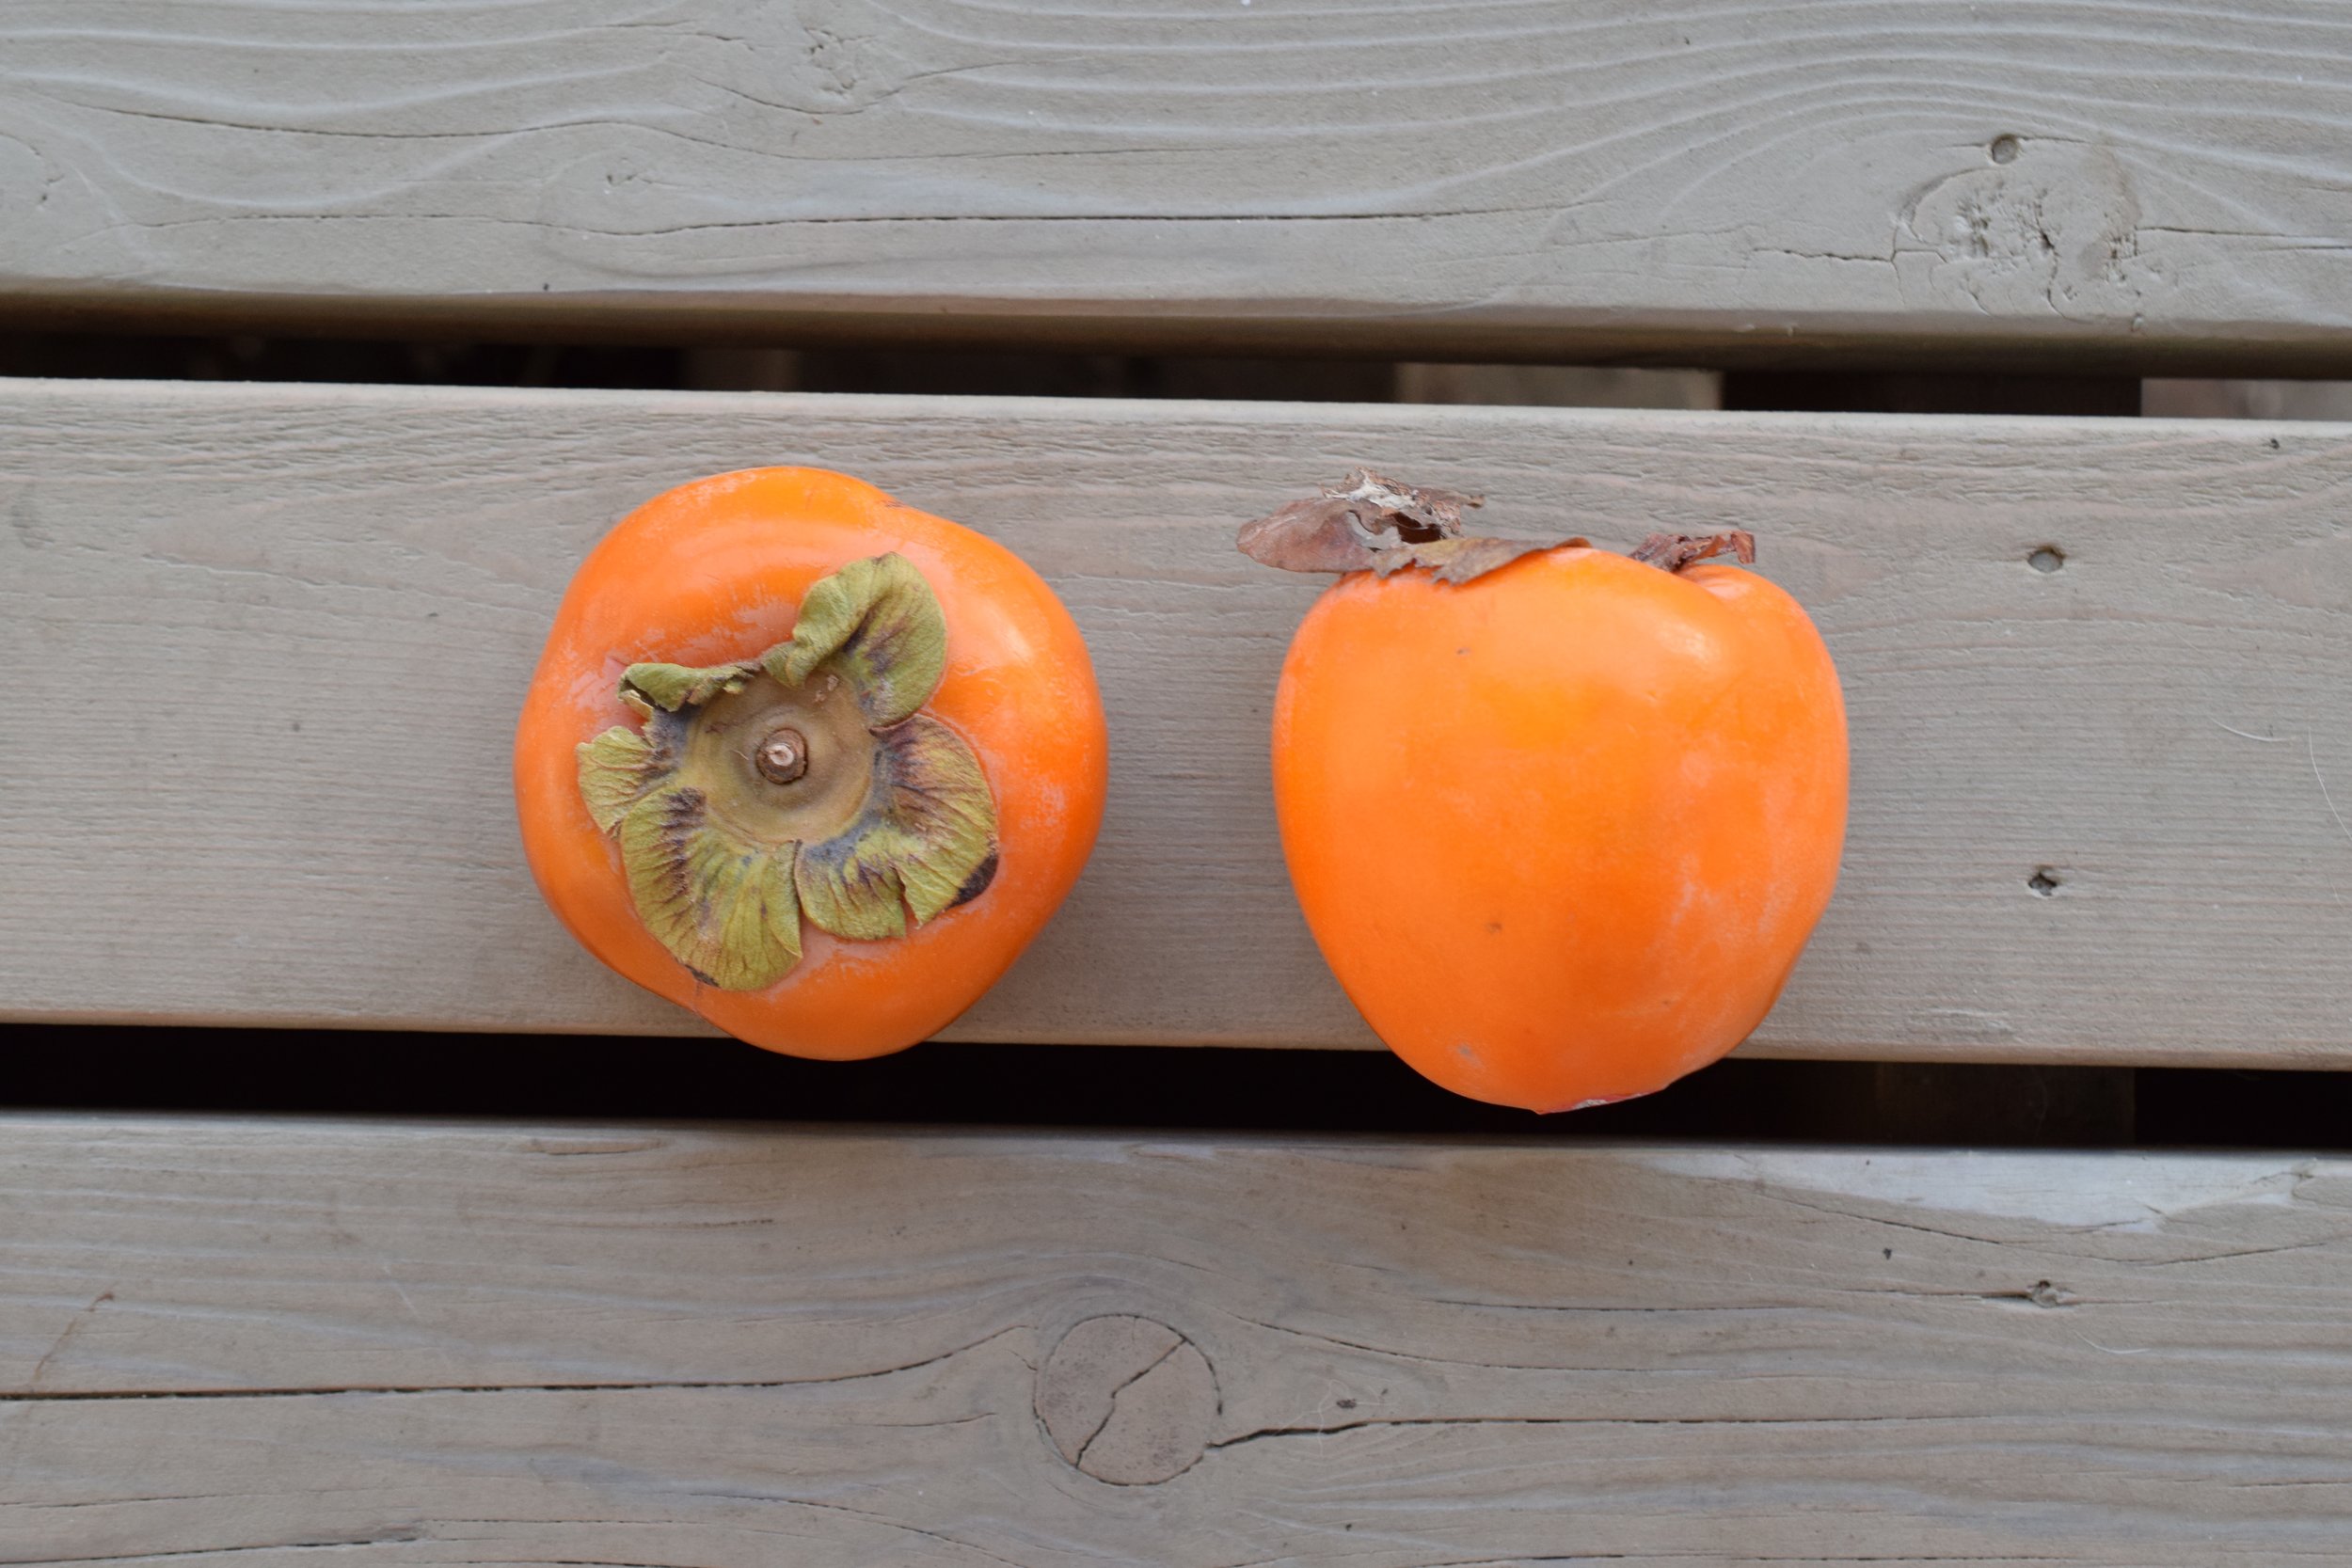
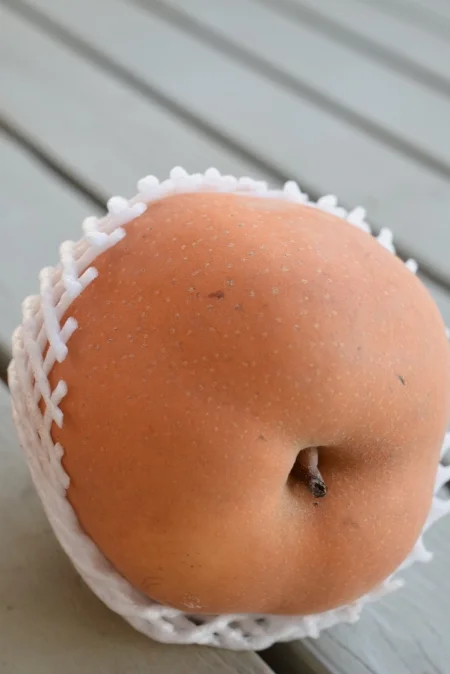
  • Asian pears are true pears, but in terms of figure, they look more like apples. They tend to be round and so plump that you want to cup them in your hands and just stare at their lightly speckled skin for a moment before you take the first juicy bite. – Food52
  • As with most things in life though, there are exceptions: Some Chinese varieties of Asian pears have the standard pyriform, or pear-shaped, figure that we associate with European pears. And Asian pears can have considerable variation in their skin too: Some varieties have smooth skin, and although we often think of them as a warm sandy brown (1, below), they can also come in shades of yellow, green, and reddish. – Food52
  • If you hear someone refer to an Asian pear as “russeted” (this condition isn’t limited to Asian pears -- European pears and apples can have russeting too), this term refers to the skin having a slightly rough texture that is often described as “corky” or “net-like.” Russeting is brownish in color, and can cover just a small patch or an entire fruit. It’s a naturally occurring condition on some varieties of apples and pears, but it can also be a result of weather conditions. – Food52

What to look for?

  • Given Asian pears ripen on the tree, they are ready to enjoy immediately. If you aren’t going to eat them right away, they will keep great in your fridge for a few months – of course, depending on the state in which you bought them. Just make sure you bring them to room temperature before enjoying to maximize on their full potential.
  • Asian pears are usually sold in a foam netting (pictured above) sleeve that protects them from getting bruised. So, if some are gently nestled in the netting and others aren’t, opt for those that are!
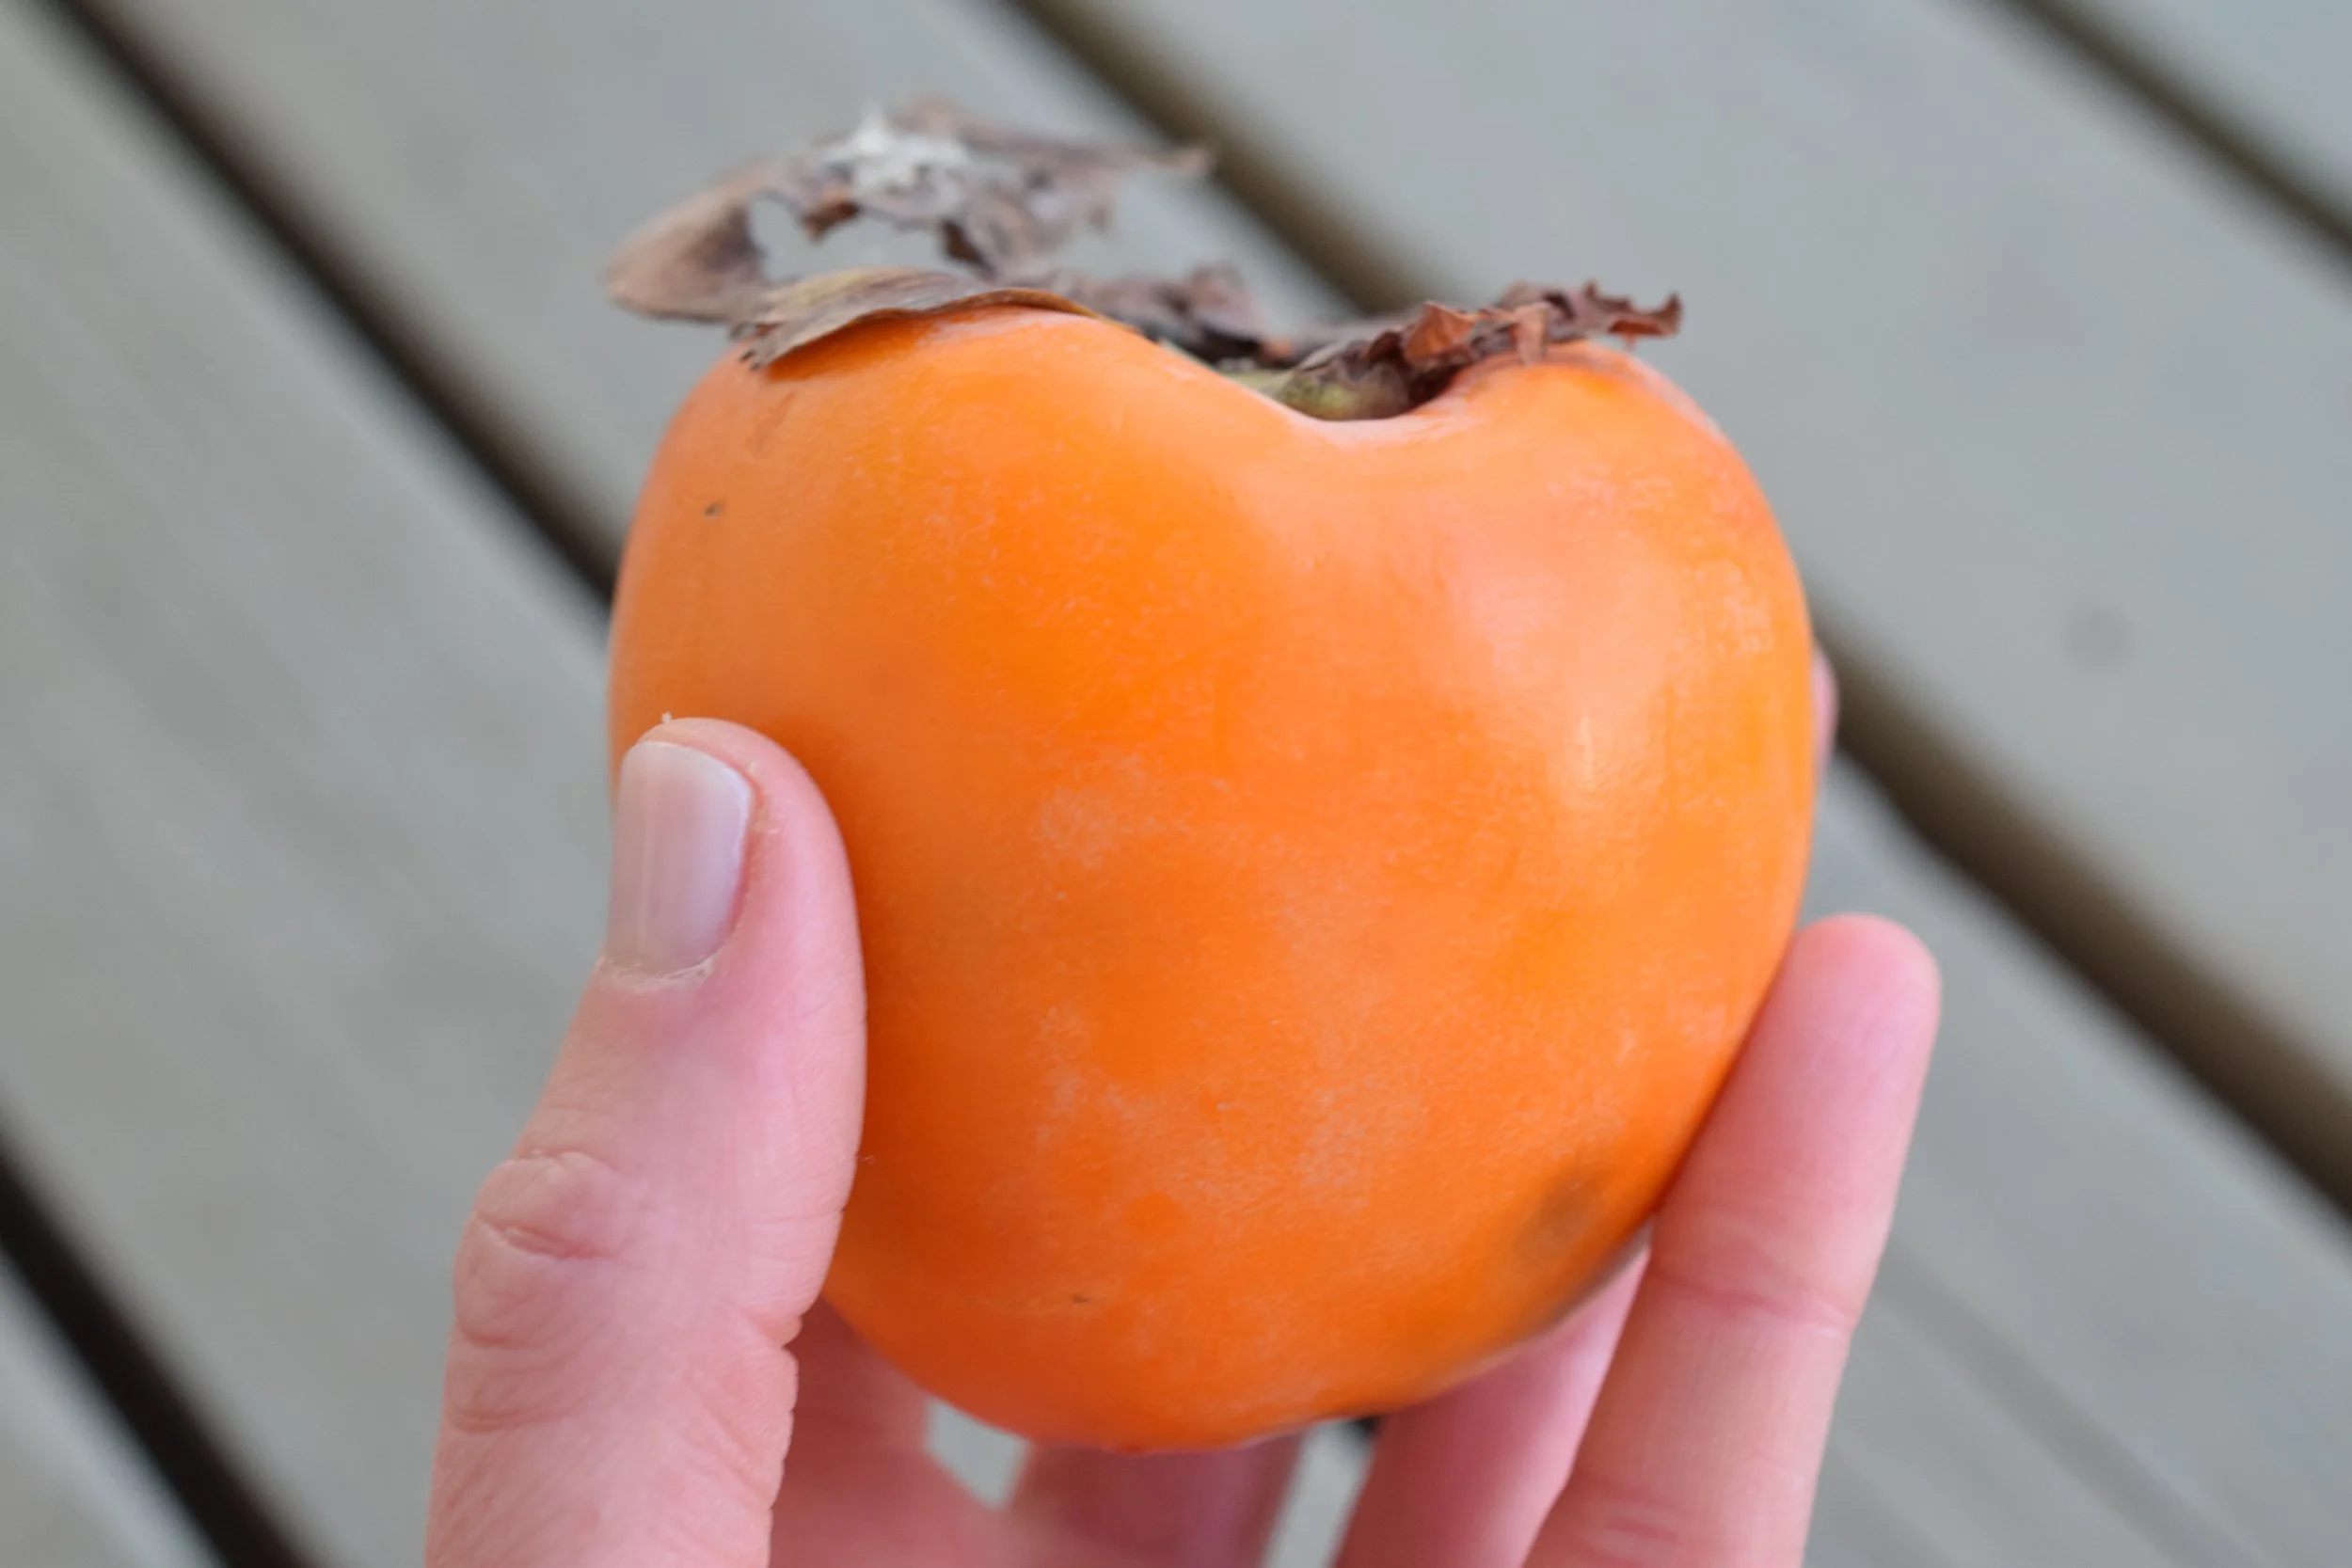
  • Gently touch the Asian pears and feel for a hard exterior with no soft spots which indicate bruising and a “mushy” texture. They should also look smooth with no noticeable blemishes or signs of intrusion from our friends in nature.

Uses:

  • Enjoy as is as you would an apple or pear: Slice and snack raw straight from your hand! No peeling needed, now how easy – and delicious – is that!

Extra Uses:

Ok, you got carried away and have more Asian pears than you know what to do with. Leave it to Food52 to come in and save the day! Here are a few of their great tips for making some delicious bites – and sips – while putting excess Asian pear’s to their fullest potential:

For other terrific tips and hundreds of recipes, visit my website (thetabletogether.com). While there, consider “subscribing” and I will send a new tip or blog post directly to your inbox every Tuesday and Wednesday morning!

P.S. Make sure you check out my YouTube channel, The Table Together with Tiffany Lewis, solely dedicated to bringing all of these fantastic tips and recipes to life!

Cheers to starting a new tradition around The Table Together!

Sincerely,


Tiffany Lewis

Founder and true believer in the power of bringing people around The Table Together!


Setting the Table | Wednesday’s In the Know!

When it comes to entertaining, there are many things we must think about. From selecting the flower arrangements, to creating the playlist, choosing wines to accompany, and even a signature cocktail, oh and wait, the menu, we must capture all these details for a successful evening!  One thing that is often forgotten about till the last minute, or simply not paid much attention to at all, is setting the table. However important this step may be, if not one of the most important details for setting the evening’s tone, is something so often overlooked. Today, I am going to show you how to quickly and properly set the table while providing some tips on doing so in a fun, festive and celebratory manner regardless of the celebrations at hand.

Setting the Table: A skill we should all know, a proper place setting is one sure way to impress your guests while letting them know you were expecting their company and are ready for the evenings gathering. Here is a quick rundown:

Plates: In order from bottom to top:

  • Charger:  If using, a charger adds a sophisticated touch to the evening, even if the evening doesn’t require one.
  • Dinner Plate: Your main dinner plate.
  • Salad Plate: If serving.
  • Soup Bowl: If serving.

Bread Plate:

  • Top left corner of your dinner plate with the butter knife on top.
  • Tip to remember which side: Make a “b” by pressing your thumb and pointer finger together. Whichever hand makes a “b” (left hand vs. right hand) that’s the side of the dinner plate the bread and butter plate should be. Answer? It’s your left hand as your right hand makes a “d”.

Silverware: Always set the silverware from the outside in (toward the dinner plate) in the order they accompany each course. For example, if serving a salad, the salad fork should be to the far left as it is the first fork that will be used. Next up, dinner fork to its’ right.

  •  Forks: Left side of the dinner plate.
  • Knives & Spoons: To the right of the dinner plate. The spoon should be to the far right, with the knife to its left. Again, organize in the order of courses served. For example, if serving soup, the soup spoon should be to the far right.
  • Dessert Fork: Directly centered above the dinner plate with the fork teeth facing the right.
  • Coffee Spoon: Directly centered above the dinner plate, above the dessert fork, with the top of the spoon facing the left.

Napkins: There are numerous ways to fold a napkin, but before you try your luck at origami, think “less is more!”

  • Napkin Rings: With so many festive napkin rings to choose from depending on the season and occasion at hand, this is one of my go to options as it’s so quick and looks great! Neatly nestle your napkins in napkin rings and place in the middle of the dinner plate or to the left of the dinner plate by your fork.
  • Folded: In a neat rectangle or square under your fork.
  • Draped: Fold into a rectangle, and drape off the top plate toward your lap.
  • Tucked: Fold into a rectangle, and tuck between the dinner and salad plate with a small portion draping toward your lap.

Glasses: Water glass, red and white wine glasses…yes there is an order in which they should be placed! All should be to the right of your dinner plate at the tip of your knife or spoon. They should be arranged in this order starting at the tip of the knife with your water glass and angling toward the top of the dinner plate with the white then red:

  • Water Glass
  • White Wine Glass
  • Red Wine Glass

Tablescapes: Yes, you should add a few adornments to your tabletop but it doesn’t have to be complex or take your hours to build as simple is best! Think about what’s in season and use its’ bounty. From crabapples to kumquats, and pears, showcase their beauty as they weave throughout your table scape. Branches (like Eucalyptus leaves found at most grocery stores and floral shops), fall leaves and even seashells depending on the season, add an inexpensive touch of the season at hand while providing great depth and purpose.

·Simple Place Setting Adornments: Top each charger, plate or napkin with a seashell, small apple, pear, kumquat or “ingredient” from the season’s bounty as a fun and festive way to welcome each guest to their spot around the table together!

With simple touches like those above, you immediately set the tone for a fun evening ahead.

For other terrific tips and hundreds of recipes, perfect for entertaining a small or large crowd, visit my website (thetabletogether.com). While there, consider “subscribing” and I will send a new tip or blog post directly to your inbox every Tuesday and Wednesday morning!

P.S. Make sure you check out my YouTube channel, The Table Together with Tiffany Lewis, solely dedicated to bringing all of these fantastic tips and recipes to life!

Cheers to starting a new tradition around The Table Together!

Sincerely,


Tiffany Lewis

Founder and true believer in the power of bringing people around The Table Together!


The Ultimate Baking Guide: 5 Steps to Becoming a Better Baker | Wednesday’s In the Know!

With the holidays quickly approaching, you wouldn’t believe the number of questions I get when it comes to baking. To help answer all your sweet (pun intended) culinary questions, I have turned to The Food Network Kitchens for their complete and thorough rundown! With these simple steps, you will be baking like a champ and the talk of your holiday potluck.

Measure Flour the Right Way:

Flour is tricky – pack it too tightly into a measuring cup, and you might end up with more than a recipe intended. The most-accurate way to measure flour is to weigh it in grams — but not all recipes offer ingredients’ optimal weights (or were even developed with weight in mind).

In our Food Network Kitchen, we aerate the flour a little with a fork, spoon it into a measuring cup, and then level it off — many other pros follow this procedure, too. But other recipe writers might prefer a different method, which could alter how you approach their recipes. In cookbooks and magazines, look for advice in the recipe headers, cook’s notes, or index. But when in doubt, go with our method and adjust the amount next time, if necessary. – The Food Network Kitchens

Make Friends with Parchment:

Parchment helps food lift easily off baking sheets and pans, but it’s handy in other ways, too. For instance, sift dry ingredients onto a piece of parchment, lift up the sides, and use it like a funnel to minimize spills as you’re adding ingredients to a mixing bowl. Or, keep pie dough from sticking to your work surface by rolling it out sandwiched between two pieces of parchment (which also make transporting the dough less cumbersome). – The Food Network Kitchens

Give Eggs Some Space:

It’s frustrating to have to fish eggshells out of a mixing bowl filled with ingredients. Minimize the unwanted crunch by cracking eggs into a separate bowl and then adding them to the mix. This will ensure you never ruin your batter with a bad egg, either. ­– The Food Network Kitchens

Warm Ingredients to Room Temperature — Fast: 

Lots of recipes call for room-temperature eggs or butter, but how many of us always forget to pull them out of the fridge early enough? (Answer: all of us.) A couple of tricks will dispel the problem: Place eggs in a bowl of warm water for about 5 minutes to remove the chill, and cut cold butter into super-thin slices, which will help soften it up much more quickly. – The Food Network Kitchens

Get a Lift with Foil:

Before making brownies or bar cookies, line your baking pan with a piece of foil large enough to hang over at least two sides. Grease the foil, add the batter, and bake as you would normally. When your treat is done and cooled, use the foil overhang as handles to easily lift your goodies out of the pan. – The Food Network Kitchens

For other terrific tips and hundreds of recipes, including tons of baked sweets like my Famous Chocolate Chunk Pecan Cookies, Banana Streusel Muffins, Chocolate Pecan Fudge, Brown Sugar Cardamom Cake, and even Espresso Brownies – to name a few –  visit my website (thetabletogether.com). While there, consider “subscribing” and I will send a new tip or blog post directly to your inbox every Tuesday and Wednesday morning!

P.S. Make sure you check out my YouTube channel, The Table Together with Tiffany Lewis, solely dedicated to bringing all of these fantastic tips and recipes to life!

Cheers to starting a new tradition around The Table Together!

Sincerely,

Tiffany Lewis

Founder and true believer in the power of bringing people around The Table Together!